


Sabertrio user guide with essential information about custom lightsabers
sabertrio user guide
Sabertrio User Guide
This comprehensive online guide provides all the essential information and detailed insights of our sabers; from the basics of getting you started to advanced features for deep customization.
introduction
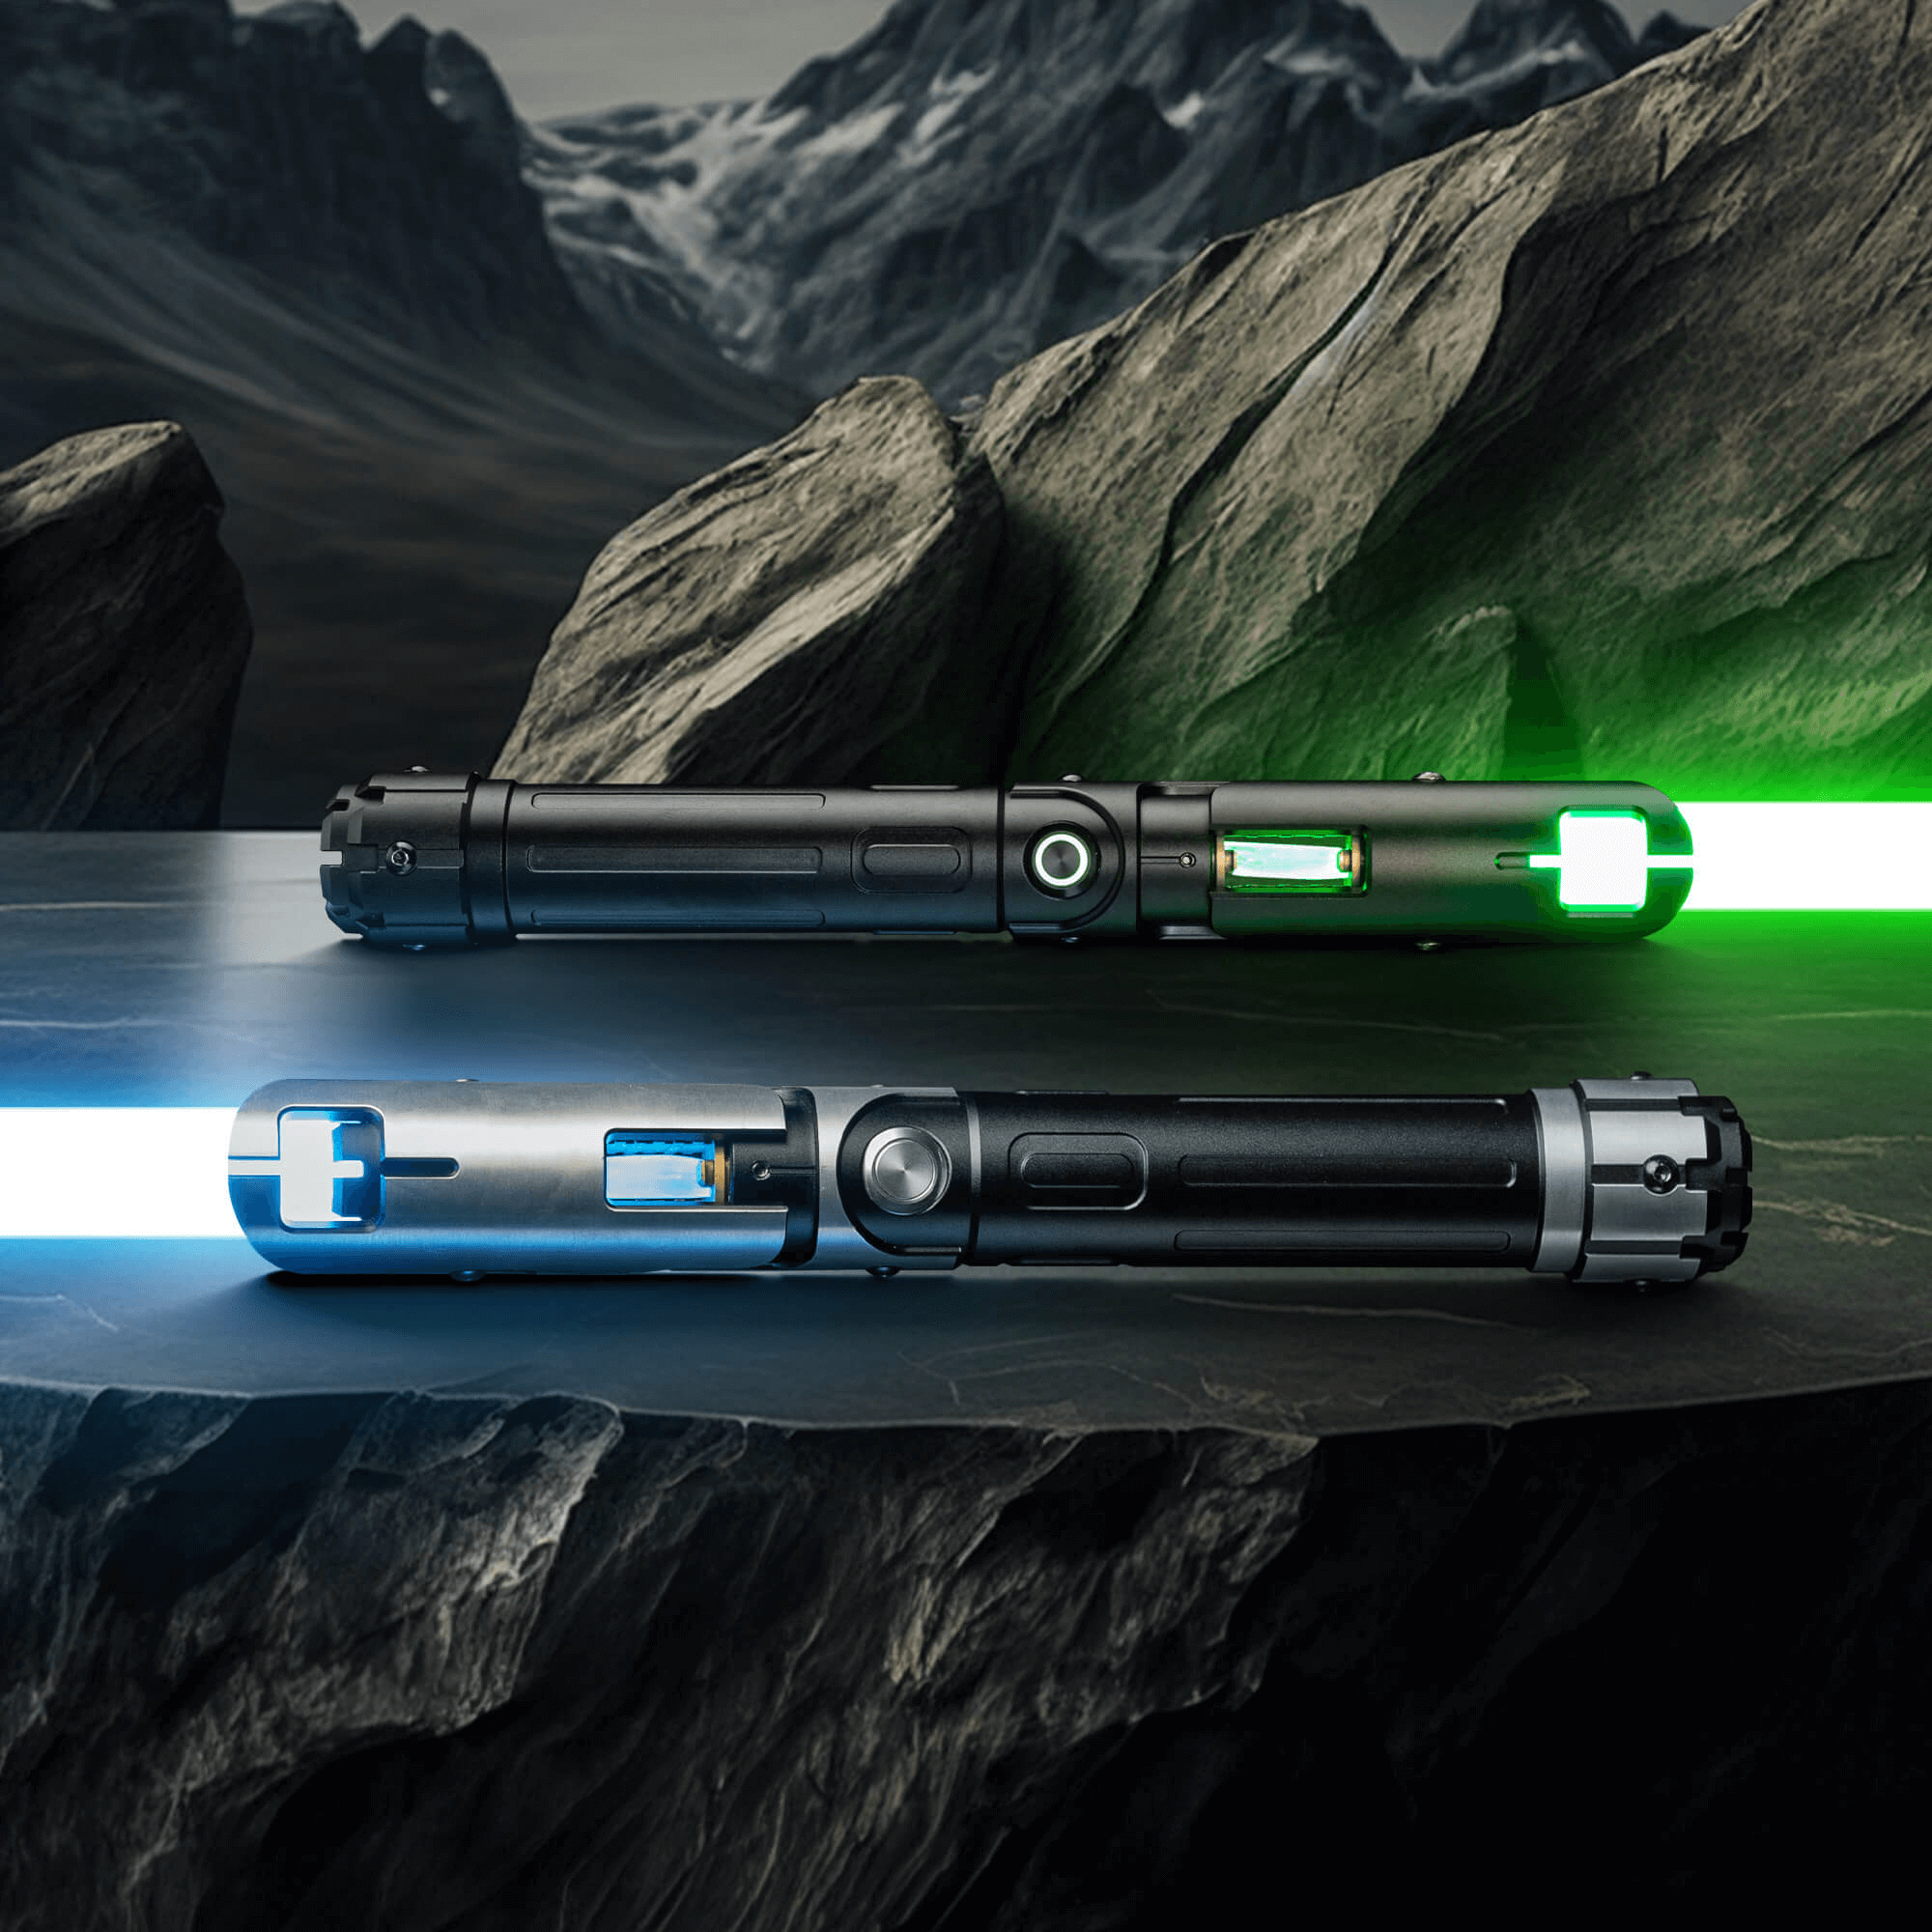
INTRODUCTION
Get to know your saber here. Dive into the differences between blade types, our range of saber hilts, what makes each configuration unique, and the intricacies of our chassis systems.

quick start
QUICK START
This section covers everything you need to know to start using your saber. Learn how to securely attach the blade, operate the saber, recharge the chassis and replace its battery.

customization
CUSTOMIZATION
Your saber, your rules. Learn how to modify your saber’s settings from changing color and blade profiles, to adding new sound fonts and beyond.

safety
SAFETY
This covers important safety information and caretaking instructions that are crucial to ensuring the longest possible life for your saber. Please read through this section.
